Posted on 10.01.2025
Floors endure daily pressure from foot traffic, furniture movement, and even heavy machinery. Therefore, many people seek extra protection to keep floors in good shape. Floor coating is a strong layer applied over concrete or other surfaces to make them more durable.
It helps protect the floor from damage, gives it a clean look, and makes it easier to maintain. Moreover, it helps resist stains, moisture, and scratches on the floor. The coating enhances the floor’s appearance by giving it a shine and improves safety by providing slip resistance.
You can apply floor coating in different settings, such as residential spaces, homes, garages, basements, and commercial areas, such as warehouses and retail stores.
What Is Floor Coating and Why Does It Matter?
Floor coating is a material, usually liquid, spread over the surface and then hardened to form a protective layer. This layer resists dust, moisture, stains, and chemicals that could harm the floor. Many homeowners and business owners choose it because it is an affordable way to save on long-term maintenance costs. Without a protective coating, floors can easily wear out and cost more to repair. Having a coating in place means your floors last longer and are easier to clean.
How Long Does Floor Coating Last?
A big reason people invest in floor coating is its long lifespan. Depending on usage and care, most coatings last 5 to 10 years or more. In industrial settings with heavy traffic, coatings may need touch-ups sooner, but they often last much longer in homes and light-use areas.
Regular cleaning and proper maintenance can help extend the life of the coating. Compared to bare concrete, which can wear down quickly, coated floors stand up much better over time.
Installation Process of Floor Coating
Here’s a step-by-step process:
Step 1: Surface Preparation
The first step is preparing the floor. A dirty floor can prevent the coating from sticking well. The floor is carefully cleaned to remove dust, oil, grease, and old paint. Leftover stains or contaminants weaken adhesion and shorten the coating’s life.
Cracks, holes, or uneven spots are also repaired at this stage because coating over damaged areas may cause them to peel later. A clean surface creates the right base for a strong, long-lasting coating.
Step 2: Grinding and Etching
Once the surface is clean, the next step is surface preparation through grinding or etching. These processes create the right texture for the coating to bond securely.
- Grinding is ideal for uneven, damaged, or stained concrete, as it smooths imperfections and levels the surface.
- Etching is typically used on smooth, new, or clean concrete to open the pores and improve adhesion.
You usually only need one method based on your floor’s condition. Skipping this step can cause the coating to sit loosely and peel quickly. Proper surface roughness is essential for long-lasting durability.
Step 3: Applying the Primer
After preparation, a primer is applied to the floor. Primer acts like glue between the surface and the coating. It soaks into the concrete and locks the layers together, strengthening the bond.
This step also seals the surface, reducing tiny air bubbles or moisture problems that can ruin the finish. A well-applied primer improves the look of the final coat and ensures it lasts longer. Skipping this step may cause the coating to fail much sooner than expected.
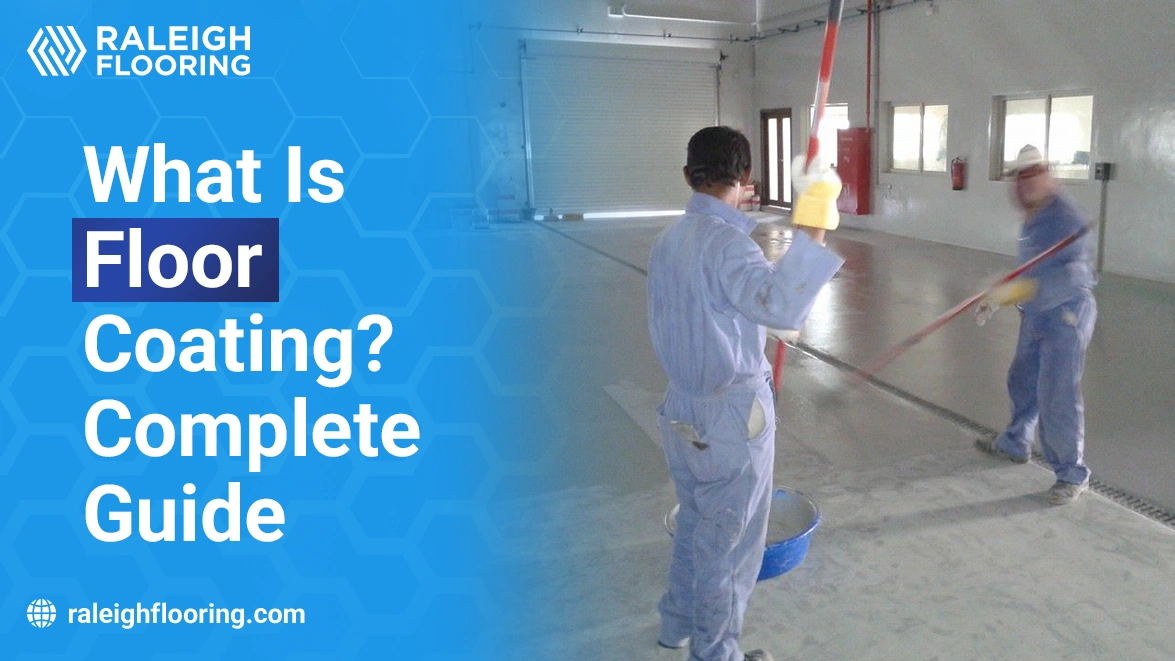
Step 4: Adding the Coating
With the primer set, it is time to apply the main coating. Depending on the type, the coating material is either poured, spread with rollers, or sprayed. It is applied evenly across the floor, so no patches or thin spots exist.
For floors that need extra strength, multiple coats are added one after the other. Each layer is given time to settle before the next is applied. This step provides protection and gives the floor a smooth and polished finish.
Step 5: Curing and Final Touch
The last step is curing, which means letting the coating harden fully. Depending on the material, curing can take anywhere from one day to several days. The floor must be left untouched so the coating sets properly. Once it cures, the floor is checked for a smooth finish, and final touches are made, such as adding a slip-resistant layer. The result is a strong surface ready for daily use.
How Much Does Floor Coating Cost?
The cost of floor coating can vary depending on a few factors. The area’s size, coating material type, and labor charges play the biggest role. On average, homeowners can expect to pay between $4 and $20 per square foot. To get an exact estimate for your specific situation, it’s always best to consult a professional.
Larger projects like warehouses may have lower costs per square foot, while smaller residential projects may be higher. While this may seem like a big expense at first, it is much cheaper than replacing an entire floor in the future.
Conclusion
Floor coating is a protective layer applied over floors to make them stronger, easier to clean, and more damage-resistant. It creates a shield that keeps out stains and moisture, while giving the surface a neat and polished look. Choosing the right coating helps extend the life of your floors and reduces repair costs over time.
Now that you understand floor coating, you can see why it is an effective solution for home and business owners. For professional floor coating services, contact Raleigh Flooring today and give your floors the care they deserve.