
Posted on 07.30.2026
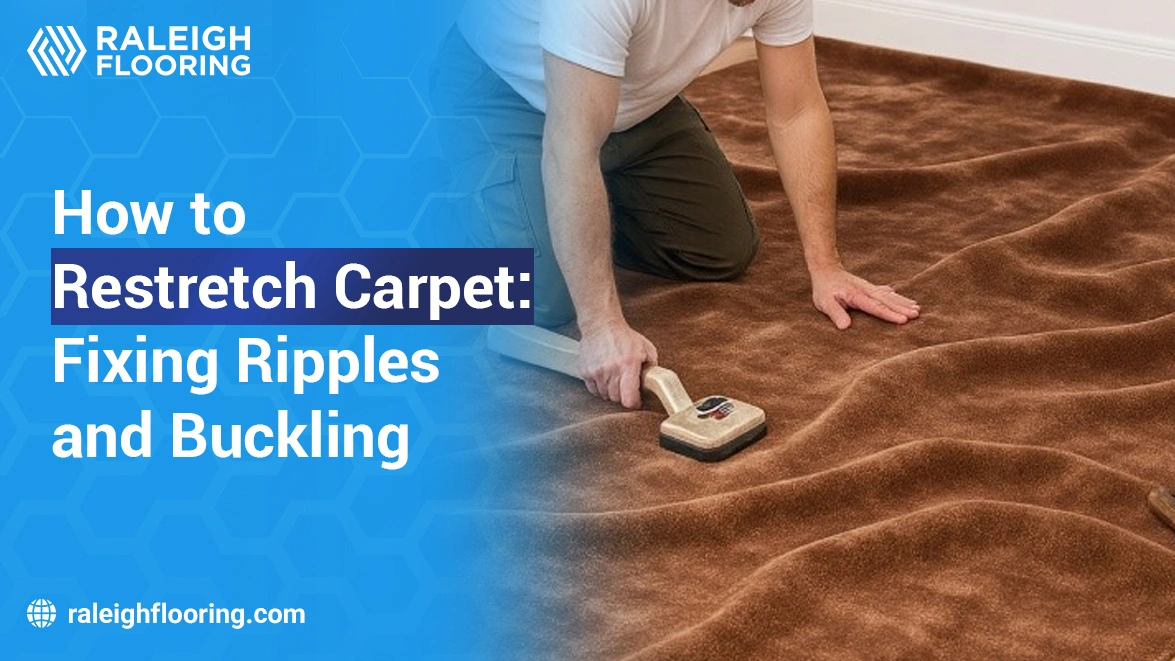
Tired of tripping over wrinkled carpet in your living room or bedroom? Restretching solves the problem effectively. Clear the space completely, pry the carpet away from the walls, stretch it tight with proper tools, hook it back onto the tack strips, cut away excess and press the edges down securely. You restore a flat, professional look in just a few hours. Understanding how to restretch a carpet can help you eliminate ripples, extend its lifespan, and avoid costly repairs later. While many handle minor jobs on their own, complex situations call for skilled hands to ensure the carpet stays smooth for the long run.
Key Takeaways
|
Tools Needed to Restretch Carpet
You gather the right equipment before you start any carpet restretching project. The correct tools make the difference between a smooth finish and new damage.
| Tool | Purpose | DIY vs Pro | Notes |
| Knee Kicker | Secures carpet in small areas and corners | Good for DIY touch-ups | Affordable, but tiring for large spaces |
| Power Stretcher | Provides even, powerful stretch across rooms | Preferred by professionals | Rent from home improvement stores |
| Carpet Knife/Utility Knife | Trims excess material cleanly | Essential for both | Sharp blades prevent fraying |
| Pry Bar or Screwdriver | Releases carpet from tack strips | Useful for both | Protects walls and baseboards |
| Carpet Tucker/Stair Tool | Pushes carpet into edges neatly | Helpful for finishing | Avoids visible gaps |
| Pliers | Grips and pulls carpet backing | Occasional need | Protects fingers during tough pulls |
| Hammer | Secures tack strips if needed | Backup tool | Use gently to avoid damage |
| Measuring Tape | Ensures proper alignment | Basic necessity | Helps plan stretches accurately |
Rent a power stretcher for bigger jobs. It delivers consistent tension that a knee kicker alone rarely matches. Always wear safety gloves and knee pads. They protect you during the physical work.
How to Restretch Carpet Step by Step?
Restretching carpet demands patience and attention to detail. You follow these steps carefully to avoid tearing the material or creating new problems.
1. Remove Furniture From the Area
Clear the entire room first. Move every piece of furniture, rugs and decor out completely. This gives you full access to the carpet edges and prevents accidental damage during stretching.
You also vacuum thoroughly afterward. Dust and debris hide under loose areas and cause issues later. Take your time here because a cluttered space leads to mistakes. Plan to spend at least an hour on this preparation step alone. It sets up everything that follows for success.
2. Pull the Carpet Away From the Tack Strip
Use a pry bar or flat screwdriver to gently lift the carpet edge from the tack strips along the walls. Work slowly in small sections so you avoid ripping the backing.
Start in a corner and move along one wall. You release just enough to create slack for stretching. Label or remember the order of sections. This helps you reattach everything correctly later.
Many homeowners discover hidden dirt or padding issues at this stage. Address minor problems now before they grow into bigger headaches.
3. Stretch the Carpet Properly
Position your power stretcher or knee kicker correctly. The stretcher head grips the carpet a few inches from the opposite wall while the tail braces against the first wall.
You apply steady pressure to pull the carpet taut across the room. Work in a grid pattern for even results. Overlap stretches slightly so you eliminate every ripple.
Professionals recommend stretching toward the longest wall first. This distributes tension better across the entire floor. Take breaks if you use a knee kicker. Your legs tire quickly with repeated kicking motions.
4. Reattach the Carpet to the Tack Strip
Press the stretched carpet firmly onto the sharp pins of the tack strip. Use your knee kicker to hook the backing securely in place.
You work from the center outward toward the corners. This prevents new wrinkles from forming at the edges. Check the tension frequently as you go. The carpet should feel tight but not overly strained.
5. Trim Excess Carpet
Take your carpet knife and remove the surplus material with steady hands. You angle the blade slightly to follow the baseboard perfectly. Don’t cut too close or you’ll create gaps later. This careful trim makes the entire job look clean and well-done.
6. Tuck the Carpet Along the Edges
You use a carpet tucker or stair tool to push the fresh edges firmly between the tack strip and baseboard. Work your way around the room slowly, pressing the material deep into the gap for a snug fit.
This step hides raw cuts and creates a seamless look. Pay extra attention to corners and high-traffic areas. A well-tucked edge prevents the carpet from pulling loose again and gives your floor that polished, professional finish.
7. Inspect for Remaining Ripples
Now step back and examine the floor carefully under good lighting. You move around the room and test different walking paths. Feel for any soft or uneven areas with your feet. Address every ripple right away before you move furniture back in. Thorough inspection separates good jobs from truly excellent ones that stay tight for years.
Is DIY Carpet Restretching Better or Should You Hire a Professional?
You face this choice when ripples appear in your carpet. Both approaches have their place depending on the situation.
DIY Restretching Makes Sense When:
- A single bedroom or hallway with light traffic works great for beginners.
- You already own basic tools or can rent what you need affordably.
- The carpet is relatively new and in good overall condition.
Hire Professionals for Carpet Stretching When:
- Rooms bigger than 200 square feet stretch more evenly with pro tools.
- You notice padding damage or subfloor issues underneath.
- The carpet has wrinkles in multiple directions or near heavy furniture zones.
Should You Use a Knee Kicker or a Power Stretcher?
A power stretcher beats a knee kicker for most restretching jobs. It applies even, adjustable force across wide areas and reduces the risk of uneven results or carpet tears.
You use a knee kicker effectively in tight corners or for final tucking. However, relying on it alone for an entire room often leads to incomplete stretches and quick return of ripples. Renting a power stretcher makes sense for anything beyond a small closet. The tool pays for itself through better, longer-lasting outcomes.
How Long Does Carpet Restretching Last?
Properly executed carpet restretching lasts three to ten years in most homes. Several factors influence this timeframe.
- High-quality installation combined with good subfloor conditions extends results significantly. You see shorter duration in areas with heavy foot traffic, pets, or major humidity swings.
- Regular vacuuming and prompt attention to new ripples help maintain the stretch. Many homeowners enjoy smooth floors for five years or more when they address underlying moisture or installation issues.
How to Prevent Carpet Ripples From Coming Back?
Smart daily habits protect your carpet after stretching. You maintain steady room temperature and humidity levels. Use furniture pads and move heavy pieces occasionally. Vacuum thoroughly and rotate rugs often. Address tiny waves immediately before they spread. Let new carpet acclimate properly too. These steps tackle the root causes. You save time and money when you prevent problems instead of fixing them later.
When Is Carpet Restretching Not Enough?
Restretching reaches its limit when the carpet itself has worn out. You see this in heavily trafficked areas where fibers appear thin and matted. Deep padding damage or repeated exposure to moisture also reduces effectiveness. If wrinkles return fast despite careful work, the backing has lost its strength. Continuing to stretch only creates frustration.
In these cases, investing in new carpet delivers better long-term value than repeated stretching attempts.
Conclusion
Restretching carpet helps you fix wrinkles and enjoy smooth, attractive floors again without a full replacement. You succeed when you prepare well, stretch properly and finish each step with care. Understanding when to call in experts also saves you time and money in the long run.
Take the next step toward better floors today. Raleigh Flooring brings over 30 years of experience straight to your doorstep through our convenient mobile showroom service. Our skilled team delivers reliable results on restretching and complete installations. Reach out now for a no-obligation consultation and discover how simple it is to love your floors again.
Recent Posts